
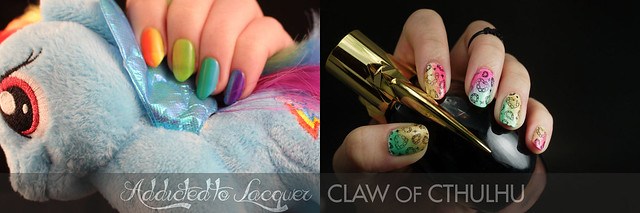
Make sure you check out Addicted to Lacquer's Week One post! I love Caitlin's Rainbow Dash themed gradient nails! She clearly schools me but I just masked my bad sponging and gradient skills with stamping, hahaha! When in doubt...
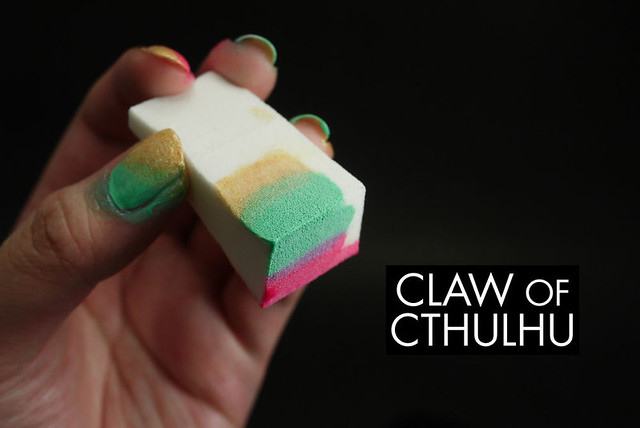
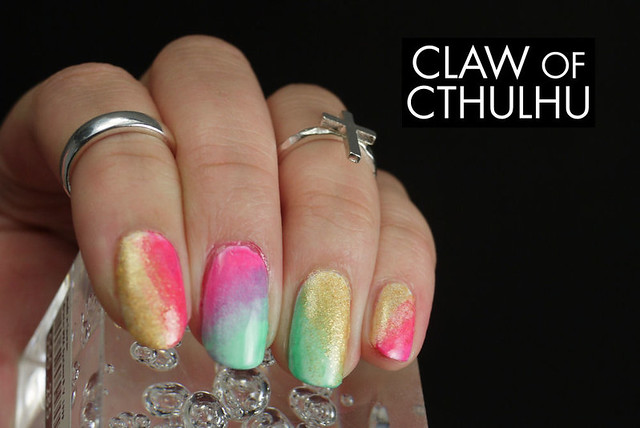
I created my gradient nail art with the Essence 'Ticket to Paradise' collection, by sponging the colours over top a one coat foundation of OPI Alpine Snow. Believe it or not, there is actually a pattern to this - I tried to angle the gradient so they would make pseudo triangles across the nail but it didn't turn out that way. I used a make-up sponge that Rainbow Honey included with their Christmas "Large Mystery Bag" (which I will post later this week).

After making a huge mess, I cleaned up carefully around the edges.
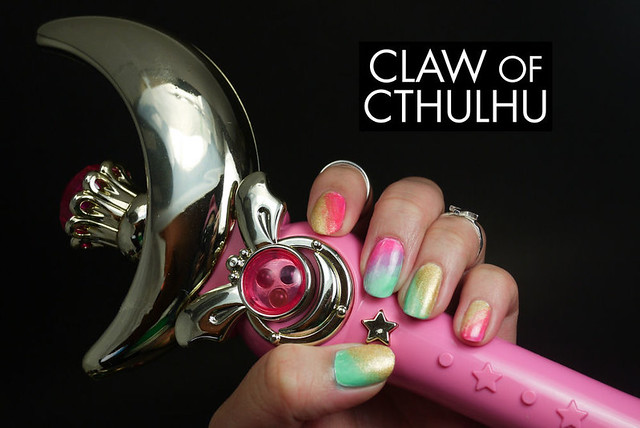
And for funsies, I totally remembered I have a fully functional Crescent Moon Wand from the 90s. Yeah, prized posession, absolutely! JUST BECAUSE!
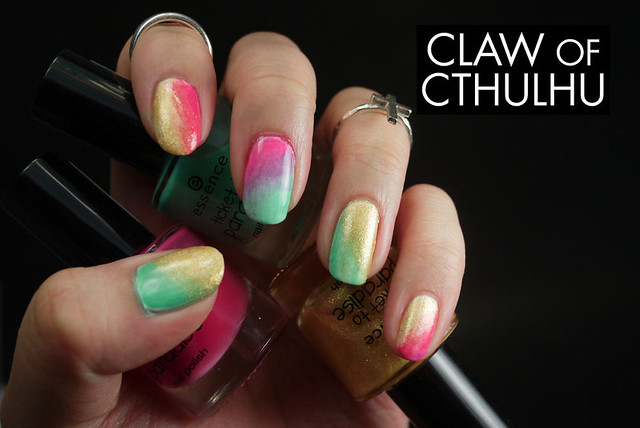
So I think I was really bothered by how much I suck at gradients, so I wanted to add some stamping to it. I'm a big fan of Nailz Craze plates and I have all of them but I am also terrible at it. Here's my best effort - yes I totally had to take a few shots at it before I could pick up this wonderfully intricate design! Here's a before and after:
BEFORE NAILZ CRAZE STAMPING:
AFTER NAILZ CRAZE STAMPING:
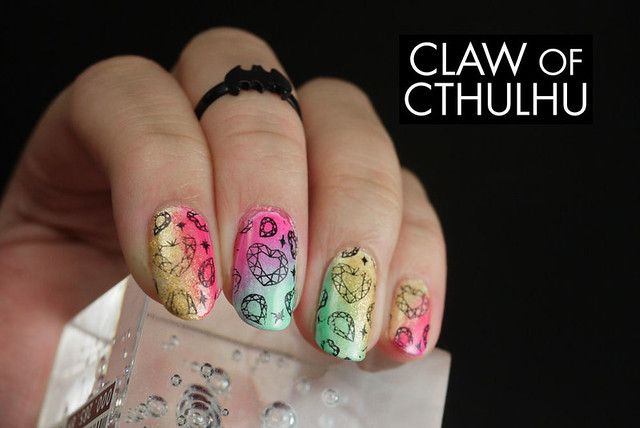
And apparently a ring switch was required, haha! Used one of my black Batman midi rings instead. I love these rings:
I'm glad that Rainbow Honey tossed in some make-up sponges in their Large Mystery Bag because I didn't think I'd ever use them. I prefer make-up sponges over kitchen sponges because it's easily to build up the gradient and have a softer controlled transition. Make sure you check out Caitlin's blog to see her gradient art!
How do you do your gradients? Do you have any tips and tricks? Maybe the type of polish you use? What kind of patience is needed? Have you done bestie nails before?
This design looks gorgeous! love it on you! <3
ReplyDeleteThank you for making the design - you have the best plates EVER!
Deleteaw, i love it! i really like the pink-to-blue nail! and i really like your choice of stamping plate, too -- i'm really intimidated by stamping, for some reason. D:
ReplyDeleteand normally when i do gradients, i start by painting lines of polish really closely to each other on a piece of tinfoil, then sort of stamping the sponge into that before rolling it over my nails. then i repeat the process, rolling the sponge over my nails each time until the opacity is where i want it to be, and if i want more saturation in specific areas i'll dab extra polish on. i feel like patting the color on all over the nail makes sort of a puckered effect, which isn't bad, but i think you can achieve a smoother look by rolling the sponge over. aaaand i normally start with a base of whatever the lightest color in my gradient will be!
i know some people do that thing where they put stripes of polish onto tinfoil/wax paper/whatever and then mix it together with a toothpick, but i've never found that to actually do much. it just makes an already fiddly process even more fiddly, imo.
Stamping is HARRRRD. I think I might have tried to pick up the design 4 times for one nail - gahhh! I ended up getting it on the nail but the really intricate ones are difficult. And they always look way better when the whole print is on. Not faded.
DeleteOh I heard that putting polish on tin foil is much better to prevent it from drying? Also it doesn't absorb like it would with paper. Also I have seen super smooth gradients before - I just didn't know if the method I was using was actually sustainable for a nice smooth build but I am going to have to try something else! Thanks for the suggestion - I am going to give it a whirl next time. :)
And yeah I've seen the stripes and toothpick mixing but I never found it to be effective either. Oh nail art, why you gotta be so complicated? (I'm also just an impatient girl apparently.)
I love it!
ReplyDeleteI've only tried a gradient once, but I do want to do it again - soon! I used a makeup sponge too and put my polish directly on it, like you did.
All your nail art is always good and clean! You should do more! :P <3
Delete